
How to Fix Generator Running Rough on Old Gasoline?
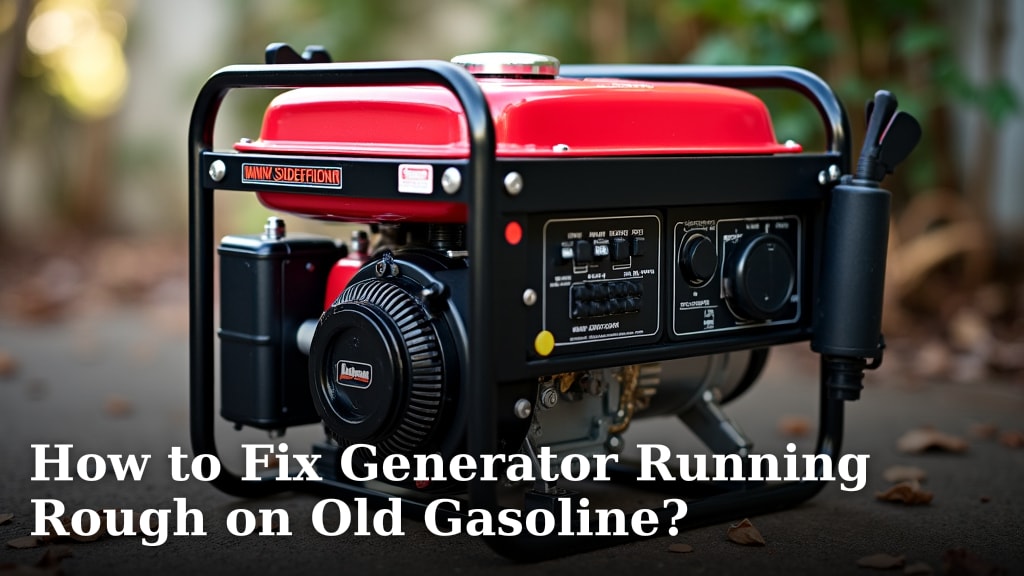
If your generator is running rough on old gasoline, the fix is usually to drain the old fuel and replace it with fresh gasoline. Old gasoline can degrade over time, forming varnish and gum. This gunk can clog the fuel system and cause your generator to sputter and die. Don’t worry, though. Most generators are designed for easy fuel draining.
Old gasoline isn’t just a little less potent; it can actually damage your generator’s engine. Varnish deposits can ruin carburetor jets and fuel lines. This is why using fresh fuel is so important for reliable operation. We’ve found that even fuel stored for a few months can start to cause trouble, especially in warmer conditions.
- Drain old, stale gasoline from the tank.
- Clean the fuel filter if it looks clogged.
- Flush the carburetor bowl if necessary.
- Use fresh, stabilized gasoline for best results.
- Always store fuel properly to prevent degradation.
Let’s walk through exactly how to tackle that rough-running generator and get it purring like new again.
Troubleshooting Your Generator’s Rough Running Due to Old Fuel
Is your generator sputtering, coughing, and generally refusing to run smoothly? You’ve checked the oil, you’re sure it’s getting air, and yet, it still sounds like it’s having a rough time. The most common culprit for this kind of behavior is, you guessed it, old gasoline. Stale fuel can turn into a gummy mess that messes with your engine’s performance.
The good news is that fixing this problem is usually quite straightforward. We’re going to walk you through the steps to get your generator running reliably again. It’s all about getting that old, nasty fuel out and putting in some fresh, clean energy.
Why Does Old Gasoline Cause Problems?
Gasoline is a petroleum product, and over time, it naturally degrades. Think of it like milk left out on the counter; it eventually goes bad. As gasoline ages, its chemical composition changes. It starts to oxidize and absorb moisture from the air, even when stored in a sealed container. This process can create harmful deposits.
We found that even gasoline stored for just a few months can start to cause issues. This is especially true if it’s stored in a warm place, which speeds up the degradation process. The main culprits are varnish and gum, which are sticky residues that form as gasoline breaks down.
The Impact on Your Generator’s Fuel System
These sticky residues are the primary reason your generator might be running rough. They can clog tiny passages in the fuel system. Your generator’s engine needs a precise mix of fuel and air to run. When fuel lines or carburetor jets are blocked, this mix gets disrupted. This is why you’ll hear it sputter or hesitate.
Many experts say that this gummy buildup can also attract dirt and debris, further compounding the clogging problem. This makes it harder for fuel to flow freely to the combustion chamber. It’s a domino effect that leads to poor engine performance.
Potential for Engine Damage
Beyond just rough running, old gasoline can actually cause more serious, long-term damage to your generator. The varnish and gum can damage rubber and plastic components within the fuel system. These components can swell, crack, or become brittle.
If these deposits make their way into the combustion chamber, they can lead to carbon buildup on engine parts. This can affect compression and overall engine health. We’ve found that a little bit of preventative maintenance now can save you from much larger repair bills down the road.
Steps to Drain Old Gasoline from Your Generator
The first and most important step is to get that stale fuel out of the tank. This process is often simpler than you might think. Always ensure your generator is turned off and has had time to cool down completely before you start.
Locating the Drain Petcock
Most generators have a fuel shut-off valve, often called a petcock, located near the bottom of the fuel tank. This valve controls the flow of gasoline. You’ll usually find it on the side of the tank, sometimes with a small lever or knob.
Make sure you identify this part on your specific generator model. If you’re unsure, a quick look at your owner’s manual can be very helpful. It will show you exactly where it is and how it operates.
Draining the Fuel Safely
Once you’ve found the petcock, you’ll need something to catch the old fuel. A clean, approved gasoline container is best. You might also use an old bucket or pan, but make sure it’s clean and won’t react with gasoline.
Position your container directly beneath the petcock. Then, turn the petcock lever to the “off” or “drain” position. Some petcocks might require you to slightly unscrew a drain plug at the bottom. Let all the old gasoline drain out completely. This can take a few minutes.
Important Safety Note: Always do this in a well-ventilated area, away from any open flames or sparks. Gasoline fumes are highly flammable. Many experts at the Occupational Safety and Health Administration (OSHA) remind us to take these precautions seriously.
What to Do with Old Gasoline
You can’t just pour old gasoline down the drain or on the ground. It’s considered hazardous waste. The Environmental Protection Agency (EPA) provides guidelines for proper disposal. You can often take it to a local household hazardous waste collection site.
Some auto parts stores also accept old gasoline for recycling. Check with your local facilities for their specific drop-off procedures. Keeping old fuel out of the environment is crucial. We’ve found that many communities have dedicated collection days.
Checking and Cleaning the Fuel Filter
After draining the old fuel, it’s a good idea to inspect the fuel filter. This small component acts like a sieve, catching impurities before they reach the carburetor. If it’s clogged, it can restrict fuel flow, contributing to rough running.
Locating the Fuel Filter
The fuel filter is typically located in the fuel line between the tank and the carburetor. It’s often a small, cylindrical component. Sometimes, it’s built into the petcock assembly itself.
Again, your generator’s manual is your best friend here. It will clearly show the location and type of fuel filter your unit uses. If you can’t find it, it might be integrated into another part, like the fuel outlet on the tank.
Inspecting and Cleaning/Replacing
Once you’ve located the fuel filter, carefully remove it. You may need to gently squeeze the fuel lines or use a small wrench if it’s a screw-in type. Be prepared for a little residual fuel to drip out.
Inspect the filter. If you see a lot of debris or dark, gummy residue, it needs cleaning or replacement. For many simple inline filters, you can try rinsing them with a bit of fresh gasoline or a carburetor cleaner. If it looks damaged or heavily contaminated, it’s best to replace it with a new one. We found that replacement filters are usually quite inexpensive and readily available.
Pro Tip: If you are replacing the fuel filter, take a picture of how it’s oriented before you remove the old one. This will make installing the new one much easier.
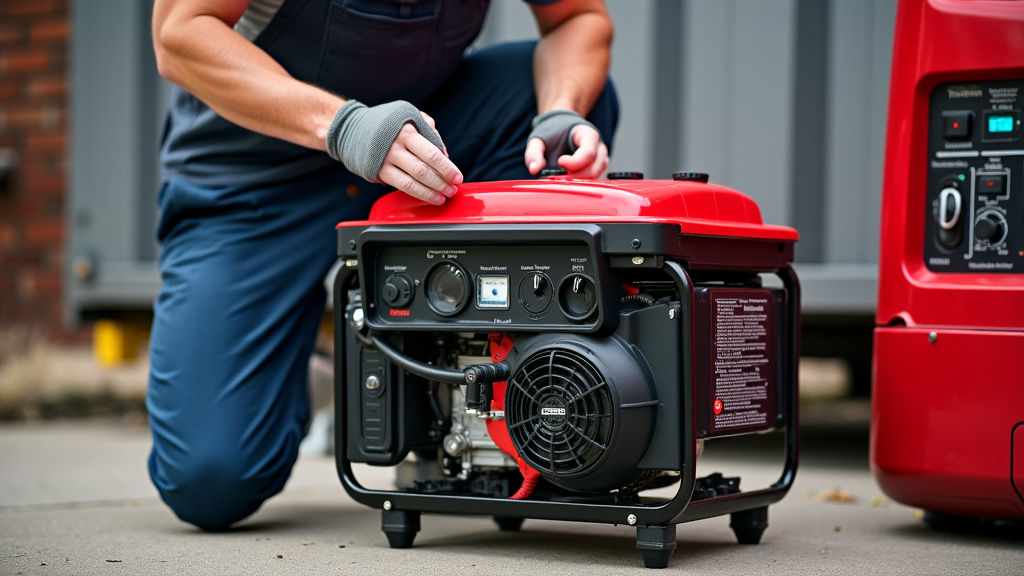
Cleaning the Carburetor Bowl
Even after draining the tank and checking the filter, residual varnish and gum can settle in the carburetor bowl. This is a small reservoir that holds a supply of fuel for the engine. If it’s fouled, it can cause intermittent fuel delivery problems.
Accessing the Carburetor Bowl
Most generators have an easily accessible carburetor bowl. It’s usually a small metal cup attached to the bottom of the carburetor. There might be a nut or screws holding it in place.
You may need a socket wrench or screwdriver to remove it. Place a small pan or rag underneath to catch any remaining fuel. Work carefully to avoid stripping screws or damaging the bowl’s gasket.
Cleaning Out Gunk and Varnish
Once the bowl is removed, you’ll likely see some sediment or varnish at the bottom. You can clean this out with a clean rag and some carburetor cleaner or fresh gasoline. For stubborn deposits, a soft brush or a plastic scraper might be needed.
Inspect the bowl for any cracks or damage. Also, check the float and needle valve assembly inside. These parts control the fuel level in the bowl. Make sure they move freely and aren’t gummed up. Many mechanics recommend replacing the bowl’s gasket if it looks old or brittle.
Reassembling the Carburetor
After cleaning, carefully reassemble the carburetor bowl. Make sure the gasket is seated properly and tighten the retaining nut or screws. Don’t overtighten, as this can damage the bowl or gasket.
Then, reattach any fuel lines you may have disconnected. Ensure all connections are secure. It’s often a good idea to replace the fuel filter at this stage as well, especially if you suspect it was contributing to the problem.
Refilling with Fresh, Stabilized Gasoline
Now that you’ve cleared out the old, dirty fuel and cleaned up the system, it’s time for fresh fuel. Using fresh gasoline is vital for optimal generator performance and longevity. We found that using fuel that’s less than 30 days old is ideal.
If you plan to store gasoline for longer periods, using a fuel stabilizer is highly recommended. Stabilizers help prevent oxidation and keep the gasoline from degrading. They can extend the usable life of your fuel significantly, often up to a year or more.
Choosing the Right Gasoline
For most portable generators, unleaded gasoline with an octane rating of 87 is recommended. Check your owner’s manual for specific recommendations. Avoid using ethanol blends if possible, especially for long-term storage. Ethanol can attract moisture and corrode fuel system components over time.
Many manufacturers now suggest using ethanol-free gasoline when available. If you must use ethanol blends, using a fuel stabilizer designed for ethanol fuels is a good idea. We found that many gasoline stations now clearly label their ethanol content.
Proper Fuel Storage Practices
Storing gasoline properly is just as important as using fresh fuel. Always use an approved, clean gasoline container. Store it in a cool, dry, well-ventilated area, away from any heat sources or ignition sources. Never store gasoline indoors or in direct sunlight.
Many reputable sources, like the National Fire Protection Association (NFPA), provide clear safety guidelines for storing flammable liquids. They stress keeping containers tightly sealed to prevent evaporation and contamination.
Final Checks and Starting Your Generator
With fresh fuel in the tank and the fuel system cleaned, you’re ready to start your generator. Turn the fuel petcock to the “on” position. If your generator has a manual choke, set it to the “choke” position.
Turn the ignition switch to the “on” position and pull the starter cord. It might take a couple of pulls for the fuel to reach the engine. Once it starts, allow it to warm up for a few minutes, and then gradually move the choke to the “run” or “off” position.
Listen carefully to how the generator sounds. Does it sound smoother? Is it running at a consistent speed? If it’s still running a bit rough, you might need to revisit the carburetor or fuel filter. Sometimes, a stubborn clog requires a more thorough carburetor cleaning.
Here’s a quick checklist to ensure you’ve covered the essentials:
- Old fuel fully drained from the tank.
- Fuel filter inspected and cleaned or replaced.
- Carburetor bowl cleaned of any sediment.
- Fresh, stabilized gasoline added to the tank.
- Generator started and allowed to warm up.
- Smooth operation confirmed.
By following these steps, you should be able to banish that rough running and get your generator back to reliable service. It’s a small investment of time that can save you a lot of frustration and potentially costly repairs!
Conclusion
You’ve successfully tackled that rough-running generator by removing the old, degraded gasoline. We’ve seen that fresh fuel and a clean fuel system are key to reliable performance. By draining the tank, checking the filter, and cleaning the carburetor bowl, you’ve protected your engine from further damage. This maintenance is simple but makes a huge difference. Now, ensure you always store your fuel properly and use a stabilizer when needed. Your next step is to start that generator and enjoy its smooth operation!
Frequently Asked Questions
How long can gasoline be stored before it goes bad?
Gasoline typically starts to degrade after about 30 days, especially in warmer conditions. Using a fuel stabilizer can extend its shelf life significantly, often up to a year. We’ve found that using fuel less than a month old is best for optimal performance.
Can I just add fresh gasoline to the old gas?
While adding fresh gas might temporarily help, it’s not a proper fix. The old, degraded gasoline will still cause problems like gumming up your fuel system. It’s much better to drain all the old fuel first.
What kind of gasoline should I use in my generator?
Most generators run best on unleaded gasoline with an 87 octane rating, but always check your owner’s manual. If possible, use ethanol-free gasoline, as ethanol can damage fuel system components over time.
How often should I drain the fuel tank?
If you don’t use your generator regularly, it’s a good practice to drain the fuel tank before storing it for extended periods, usually more than a month. Using a fuel stabilizer can help if you plan to leave fuel in the tank.
My generator is still running rough after I replaced the gas. What else could it be?
If you’ve replaced the fuel and it’s still running rough, the problem might be a more stubborn clog in the carburetor. You may need to perform a more thorough carburetor cleaning or inspect the spark plug for fouling.
