
What Is the Safest Way to Clean a Generator Air Filter?
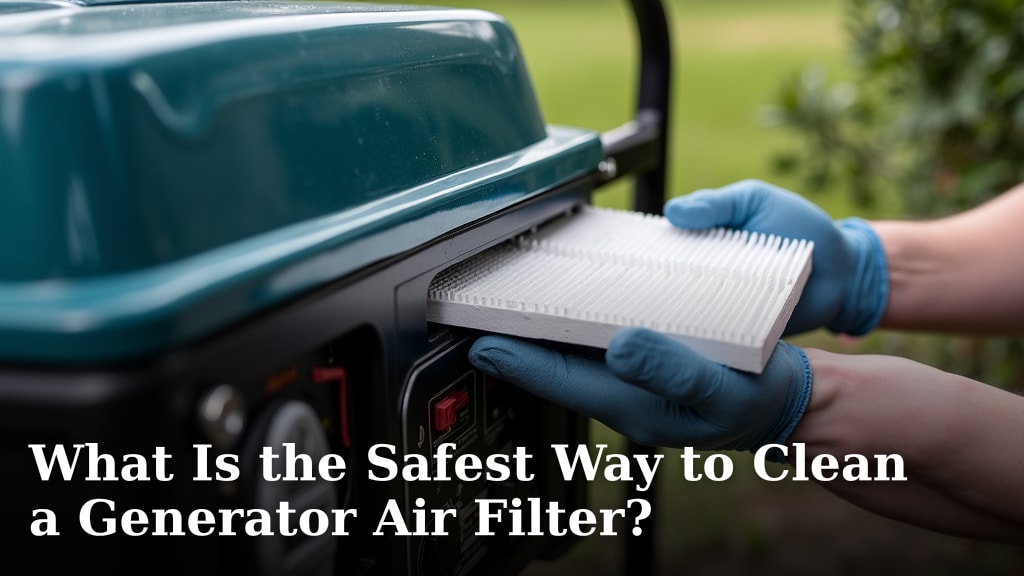
The safest way to clean a generator air filter is often with compressed air, blowing from the inside out to avoid embedding dirt deeper. However, for heavily soiled filters or certain filter types, replacement is usually safer and more effective than cleaning.
You want your generator to run its best, right? A clean air filter is key for peak performance and engine longevity. But cleaning it the wrong way can do more harm than good, letting harmful debris into your engine. We found that knowing your filter type is crucial before you start any cleaning.
- Clean or replace your generator’s air filter regularly.
- Never use water on paper filters.
- Compressed air is often best for paper filters.
- Foam filters might allow gentle washing.
- A clean filter boosts generator life and efficiency.
Let’s walk through everything you need to know about keeping your generator’s air filter in top shape, step by step.
Keeping Your Generator’s Air Filter Clean and Functional
Maintaining your generator’s air filter is essential for its health. We found the safest approach almost always involves gentle methods or, ideally, replacement when the filter is too dirty. Your goal is to remove debris without damaging the filter material or pushing dirt deeper into the engine’s path.
Why a Clean Air Filter Matters So Much
Think of your generator’s air filter as its lungs. Just like you wouldn’t want to breathe through a dusty rag, your generator needs clean air to function properly. A dirty filter chokes the engine, making it work harder.
Impact on Engine Performance
When the air filter gets clogged, your generator struggles. It has to pull harder to get enough air, leading to reduced power output. You might notice it running rough or not powering as many appliances as usual. This extra strain also burns more fuel, hitting your wallet.
Extending Generator Lifespan
A clean air filter acts as a barrier, stopping dust, dirt, and debris from entering the engine’s combustion chamber. If these particles get in, they can cause premature wear and tear on internal components. Over time, this damage can significantly shorten the life of your generator, leading to costly repairs or even a full replacement (Briggs & Stratton).
Identifying Your Generator Air Filter Type
Before you even think about cleaning, you need to know what kind of air filter your generator has. Cleaning methods vary wildly depending on the material. Using the wrong method can ruin the filter or, worse, let harmful debris into your engine.
Paper Air Filters (Pleated Paper)
These are the most common type. They look like an accordion, with many folds of paper. Paper filters are excellent at trapping fine particles. However, they are also the most delicate when cleaning. We found that water is generally a big no-no for these filters.
Foam Air Filters
Foam filters are often found in smaller generators or older models. They are usually sponge-like and might be soaked in oil. These are generally more durable than paper filters and can sometimes be washed. They offer good protection against larger particles.
Combination Filters
Some generators use a combination of both foam and paper. You might find a foam pre-filter wrapped around a paper element. In these cases, the foam part might be washable, while the paper part will need dry cleaning or replacement.
Step-by-Step Guide to Safely Cleaning Your Air Filter
Alright, you know your filter type. Now let’s get down to cleaning. Remember, gentleness is key here. You’re trying to remove dirt, not force it further in or tear the filter material.
General Preparation Steps
- Safety First: Always turn off your generator and let it cool down completely. Disconnect the spark plug wire to prevent accidental starting.
- Locate the Filter: Most air filters are in a plastic housing near the carburetor. You’ll usually need a screwdriver or a few clips to open it.
- Remove the Filter: Carefully take out the filter. Be gentle not to dislodge dirt into the engine intake while removing it.
- Inspect Thoroughly: Hold the filter up to a light source. If you can’t see light through it, or if it has tears or holes, it’s time for a new one. Cleaning won’t save it.
Cleaning Paper Air Filters
For paper filters, the goal is to remove dust without getting the paper wet or damaging its structure. We found that compressed air is the champion here.
- Use Compressed Air: Blow air from the inside of the filter outwards. This pushes dirt away from the engine, rather than embedding it deeper into the paper.
- Gentle Tapping: You can also gently tap the filter on a hard surface to dislodge loose debris. Do this over a trash can.
- Never Use Water: Water will destroy the paper fibers, making the filter ineffective and potentially allowing harmful particles to pass through.
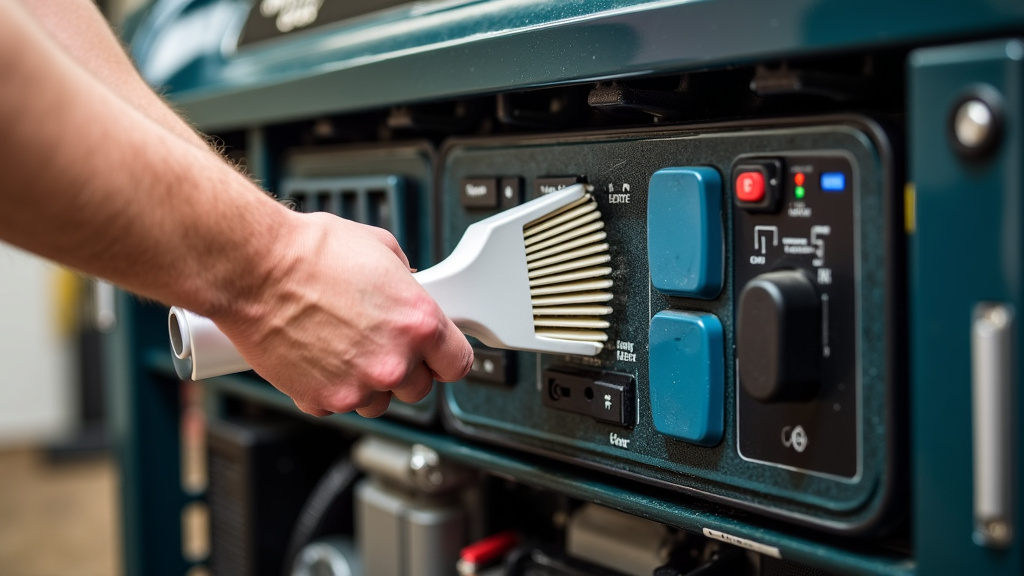
- Avoid Brushes: Brushing can tear the delicate paper pleats.
Cleaning Foam Air Filters
Foam filters offer a bit more flexibility. If your foam filter is just dusty, you might start with compressed air. If it’s oily or very dirty, a gentle wash is often possible.
- For Light Dust: Use compressed air, blowing from the inside out, just like with paper filters.
- For Oily/Heavy Dirt:
- Gently wash the foam in warm, soapy water (dish soap works well).
- Squeeze, don’t wring, the filter to remove dirty water.
- Rinse thoroughly under clean water until no soap remains.
- Allow to Air Dry Completely: This is crucial. A damp filter can restrict airflow or even promote mold growth.
- Re-oil if Necessary: If your generator manual specifies an oiled foam filter, apply a small amount of specialized foam filter oil. Work it in evenly and squeeze out any excess.
When to Replace, Not Just Clean
Sometimes, cleaning just isn’t enough, or it’s not worth the risk. Replacing your air filter is often the safest and most effective solution, especially for paper filters.
Signs It’s Time for a New Filter
- Visible Damage: Tears, holes, or bent pleats mean it’s compromised.
- Excessive Dirt: If the filter is caked with mud, oil, or extremely fine dust that won’t come out easily, replace it.
- Discoloration: A very dark or discolored filter indicates heavy contamination.
- After Many Cleanings: Even if you’ve cleaned it carefully, the filter material degrades over time.
- Reduced Performance: If your generator is still running poorly after a cleaning, the filter might be too far gone.
The Cost-Benefit of Replacement
Air filters are relatively inexpensive. The cost of a new filter is far less than the cost of engine repairs caused by a damaged or ineffective filter. When in doubt, replacement is the safer bet for your generator’s longevity and performance.
Here’s a quick overview of filter types and cleaning approaches we’ve covered:
| Filter Type | Cleaning Method | When to Replace |
|---|---|---|
| Paper (Pleated) | Compressed air (inside-out), gentle tapping | Visible dirt won’t dislodge, tears, holes, discoloration |
| Foam (Dry) | Compressed air, gentle wash with soap/water (air dry) | Degraded foam, tears, permanent stiffness |
| Foam (Oiled) | Wash with soap/water, re-oil (air dry) | Degraded foam, tears, permanent stiffness |
Essential Air Filter Cleaning Checklist
Before you button up your generator, make sure you’ve covered these critical points:
- Generator is off and cool.
- Spark plug wire disconnected.
- Filter type identified correctly.
- Cleaning method matches filter type.
- Filter inspected for damage (tears, holes).
- Foam filters are completely dry before reinstallation.
- Paper filters have not been exposed to water.
- No debris accidentally fell into the engine intake.
Conclusion
Keeping your generator’s air filter clean is a simple yet powerful way to ensure its longevity and peak performance. You’ve learned that identifying your filter type is the first step, guiding you to the safest cleaning method. Whether it’s a gentle blast of compressed air for paper filters or a careful wash for foam, your attention to detail protects your investment. When in doubt, remember that a new filter is always a wise choice, safeguarding your generator against harmful debris. Take these steps, and your generator will thank you with reliable power when you need it most.
Frequently Asked Questions
How often should I clean my generator’s air filter?
You should check your generator’s air filter every 20-50 hours of operation or at least once a season, whichever comes first. If you operate your generator in very dusty conditions, you’ll need to check and clean it more frequently. Regular checks prevent excessive buildup and maintain performance.
Can I use water to clean any type of generator air filter?
No, you should never use water on paper air filters, as it will destroy their filtration capability. Water is generally safe for foam filters, but always ensure they are completely dry before reinstallation. Refer to your generator’s manual for specific recommendations on your filter type.
What happens if I don’t clean my generator’s air filter?
Ignoring your air filter can lead to several problems. Your generator might experience reduced power, increased fuel consumption, and run rougher. Ultimately, a dirty filter allows harmful dirt and debris into the engine, causing premature wear and potentially costly repairs over time.
Is it better to clean or replace a generator air filter?
For paper filters, replacement is often the safest and most effective option when they are heavily soiled or damaged. While light cleaning with compressed air can extend their life, foam filters are more amenable to washing. When in doubt, we found that replacing the filter is a small investment to protect your engine.
Where can I buy a replacement air filter for my generator?
You can purchase replacement air filters from the generator manufacturer’s website, authorized service dealers, or most hardware and home improvement stores. Make sure you know your generator’s model number and the specific part number for the air filter to ensure you get the correct fit.
