
How to Clean a Generator Air Filter?
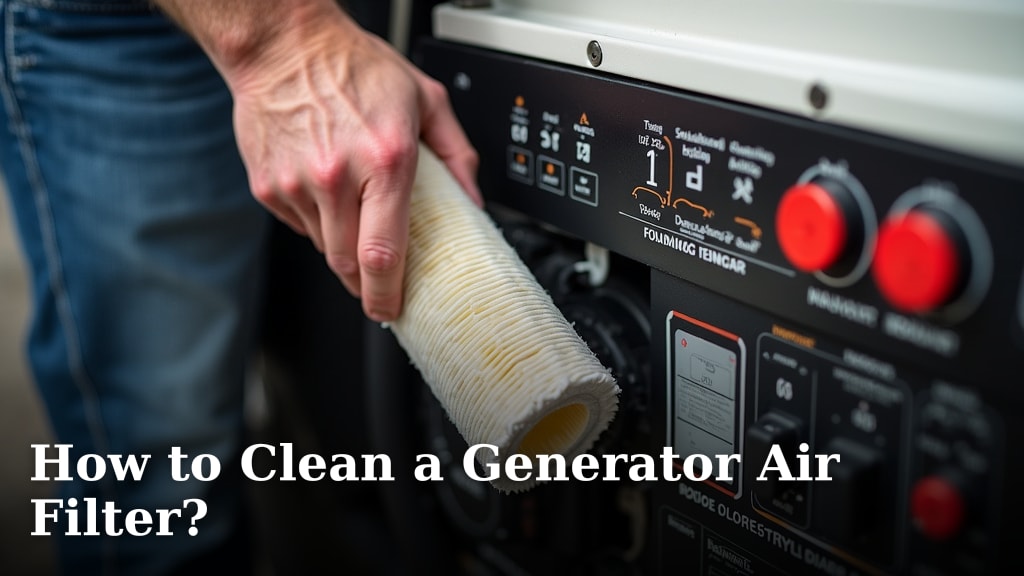
To clean a generator air filter, first, you’ll need to remove the filter carefully. Depending on your filter type, you might then wash it with soapy water, gently tap out debris if it’s a paper filter, or replace it entirely if it’s too dirty or damaged. Protecting your generator starts with a clean air filter.
Maintaining a clean air filter is essential for your generator’s performance and lifespan. A dirty filter can cause your generator to lose power or even overheat. We’ll show you how to identify when cleaning is needed and the best way to do it for different filter types.
- Remove the air filter.
- Inspect the filter for damage.
- Clean or replace based on filter type.
- Reinstall the clean filter.
- Perform regular checks.
We’ll walk you through exactly how to clean your generator’s air filter step by step, ensuring your generator runs efficiently when you need it most.
Getting Started: Your Generator Filter Check
Before you even think about cleaning, you need to know what you’re working with. Different filters need different care. Let’s figure out your generator’s air filter type first.
Identify Your Generator’s Air Filter Type
Walk over to your generator. Look at the air filter housing. It’s usually a plastic or metal box. It often has clips or screws holding it in place. Finding out what kind of filter you have is the first step.
Most generators use one of three main types of air filters. You might have a foam filter, a paper pleated filter, or even a combination. Each type has its own cleaning method.
Foam Air Filters: The Spongy Type
Foam filters feel like a thick sponge. You can often see the open pores. These are usually reusable and cleanable. You’ll find them in many smaller and portable generators.
Paper Pleated Filters: The Accordion Look
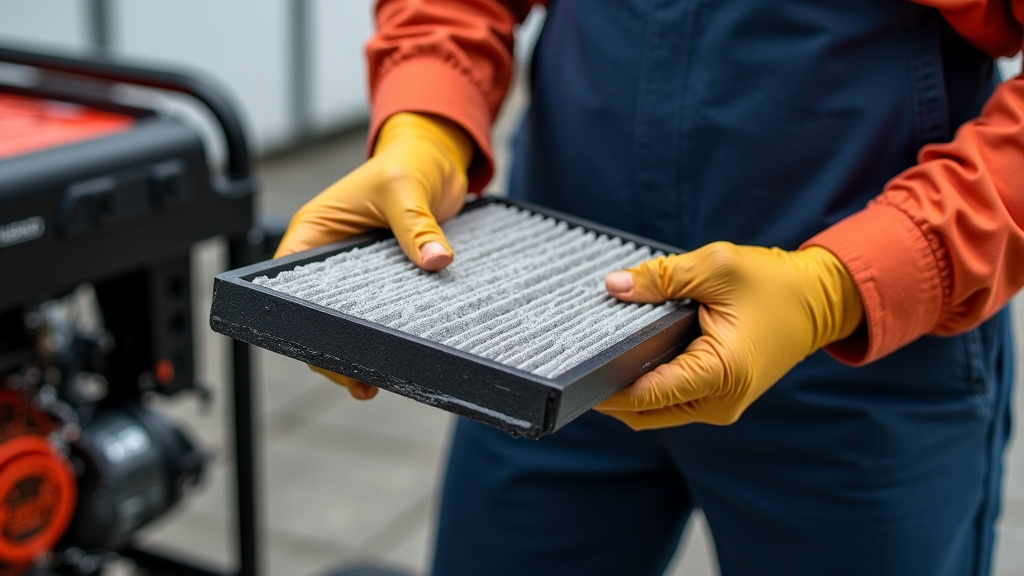
Paper pleated filters look like an accordion or a fan. They are usually white or yellowish. They can be round, square, or rectangular. Most larger generators use these. Sometimes, they have a metal mesh screen around them.
Combination Filters: Best of Both Worlds
Some generators use both a paper filter and a foam pre-filter. The foam part usually sits on the outside. It catches larger debris. This layered approach offers better protection for your engine.
Safety First: Before You Touch Anything
Your safety is very important. Always take precautions when working on your generator. A few simple steps prevent accidents.
- Turn off your generator completely. Make sure the engine is cool to the touch.
- Disconnect the spark plug wire. This stops the engine from accidentally starting.
- Wear appropriate safety gear. Gloves can protect your hands. Safety glasses shield your eyes from dust.
These steps sound basic, but they protect you. Never skip them. We want you to stay safe while keeping your generator healthy.
The Removal Process: Freeing Your Filter
Now that you know your filter type and are safe, it’s time to remove it. This process is usually straightforward. It might vary slightly depending on your generator model.
Locating and Opening the Air Filter Housing
The air filter housing holds your filter. It’s usually on the side of the generator’s engine. Look for a plastic or metal cover. It might have screws, clips, or wing nuts.
Open the housing gently. Release any clips or unscrew the fasteners. Some covers just snap off. Set these parts aside carefully so you don’t lose them.
Extracting the Filter
Once the cover is off, you’ll see the filter. Carefully pull it out. Take note of how it sits inside the housing. This will help you put it back correctly later.
Sometimes, the filter might be a snug fit. A gentle wiggle usually does the trick. Avoid forcing it. For combination filters, remove the foam pre-filter first, then the paper element.
Assessing the Damage: To Clean or Replace?
Now that you have the filter out, look at it closely. Is it just dusty, or is it falling apart? This inspection tells you what to do next.
Signs Your Filter Needs Attention
A clean air filter is usually light-colored. It allows light to pass through easily. Here’s what to look for when inspecting it.
- Dust and dirt build-up: A thin layer of dust is okay for cleaning.
- Dark or black color: This indicates heavy contamination.
- Tears, holes, or fraying: Any physical damage means replacement is necessary.
- Oil saturation: If your filter is soaked in oil, replace it. There might also be a bigger engine issue (Consumer Reports).
- Matted or stiff foam: Foam filters lose their elasticity over time.
If you see tears or heavy oil, a new filter is your best bet. Cleaning won’t bring it back to life. A damaged filter won’t protect your engine effectively.
Cleaning Methods for Different Filter Types
Ready to get your hands a little dirty? Each filter type requires a specific cleaning approach. Let’s tackle them one by one.
Cleaning a Foam Air Filter
Foam filters are quite forgiving. They are designed to be washed. This makes them a cost-effective choice for many generator owners.
- Remove loose debris: First, gently tap the filter against a hard surface. This knocks off any large, loose dirt particles. A soft brush can help too.
- Wash with soap and water: Fill a bucket with warm water and a mild detergent. Dish soap works great. Submerge the filter and gently squeeze it. Like squeezing a sponge. Rinse it thoroughly under running water until no more soap suds appear.
- Dry completely: This step is critical. Squeeze out as much water as possible. Then, let it air dry completely. Place it in a well-ventilated area. Avoid direct sunlight or heat, as this can damage the foam. It could take several hours or even overnight (PennState Extension).
- Re-oil (if required): Some foam filters require a light coating of specific air filter oil. Check your generator’s manual. If needed, apply a small amount of oil evenly. Don’t over-oil. It should feel slightly tacky, not dripping wet.
Remember, a fully dry filter prevents moisture from entering your engine. So be patient.
Cleaning a Paper Pleated Air Filter
Paper filters are a bit more delicate. You can’t wash them with water. Water destroys the paper fibers and reduces filtration effectiveness.
- Gentle tapping: Hold the filter above a trash can. Gently tap it against a hard surface. The goal is to shake out the dust from between the pleats. Do not tap too aggressively.
- Compressed air (optional): If you have an air compressor, use it carefully. Blow air from the inside of the filter outwards. This pushes dirt out. Keep the nozzle about six inches away from the filter. Use low pressure (around 30 psi). High pressure can damage the paper (Briggs & Stratton).
- Vacuum cleaner (low setting): For stubborn dirt, use a vacuum cleaner with a brush attachment. Gently brush along the outside of the pleats. Use a low suction setting to avoid tearing the paper.
Inspect the filter again after cleaning. If it still looks very dirty, or if you created any tears, it’s time for a replacement. Paper filters are often considered disposable when heavily soiled.
Cleaning a Combination Filter
If you have both a foam pre-filter and a paper filter, treat them separately. Clean the foam part as described above. Then, clean the paper part. Reassemble them correctly after they are both clean and dry.
Reinstallation: Putting It All Back Together
Once your filter is clean and dry, it’s time to put it back. This is usually the reverse of removal. Make sure everything fits snugly.
- Place the filter back: Slide the clean filter into the housing. Ensure it sits correctly. Check your previous observation of how it was oriented.
- Reattach the cover: Put the air filter cover back on. Fasten any clips or screws securely. Don’t overtighten, especially if it’s plastic.
- Reconnect the spark plug wire: Finally, reconnect the spark plug wire. This makes your generator ready for use again.
A properly installed filter keeps your generator running smoothly. It seals out dirt and debris. This step protects your engine from harmful particles.
Maintaining Your Generator Air Filter
Cleaning your air filter isn’t a one-time job. Regular checks are vital. Your generator will thank you with reliable performance.
How Often Should You Check and Clean?
There’s no single answer. It depends on how often you use your generator and where you use it. Dirty, dusty environments mean more frequent checks.
| Usage Environment | Check Frequency | Cleaning Frequency (Approx.) |
|---|---|---|
| Clean/Light Use (e.g., occasional power outages) | Every 25-50 hours of operation or annually | Every 50-100 hours or as needed |
| Moderate Use (e.g., regular job site, camping) | Every 10-25 hours of operation or bi-annually | Every 25-50 hours or monthly |
| Heavy/Dusty Use (e.g., construction site, desert) | Every 5-10 hours of operation or weekly | Every 10-25 hours or as needed (often replaced) |
Always consult your owner’s manual for specific recommendations. It offers the best guidance for your exact generator model (Generac). This table offers general guidelines.
Regular Maintenance Checklist for Your Air Filter
Make this a habit. A minute or two of checking can save you headaches later.
- Inspect visually before each use (if possible).
- Note operating hours for scheduled maintenance.
- Keep a spare filter on hand (especially paper types).
- Clean or replace based on the environment.
- Ensure the air filter housing is always sealed properly.
Taking these small steps makes a big difference. Your generator’s engine breathes easier with a clean filter. This means it lasts longer. It performs better when you need it most.
Conclusion
You’ve successfully learned how to keep your generator’s air filter clean. From identifying your filter type to mastering the specific cleaning methods for foam and paper filters, you now have the knowledge. A clean air filter is more than just good practice; it’s a critical step in ensuring your generator runs efficiently, reliably, and lasts longer. Regular checks and timely cleaning can prevent costly repairs and ensure your power source is ready when you need it most. Make air filter maintenance a routine habit to protect your investment.
Frequently Asked Questions
Can I use household cleaners to wash my foam generator air filter?
It’s best to use mild dish soap and warm water for foam filters. Harsh household cleaners can sometimes degrade the foam over time. Always rinse thoroughly to remove all soap residue.
What happens if I don’t clean my generator’s air filter?
If you neglect your generator’s air filter, the engine will struggle to get enough air. This can lead to reduced power output, inefficient fuel consumption, increased engine wear, and potentially overheating. Over time, it can cause significant damage to your generator’s engine.
How often should I replace a paper pleated air filter?
Paper pleated filters are generally not designed for extensive cleaning. They should be replaced when they appear heavily soiled, discolored, or show any signs of damage like tears or holes. Check your generator’s manual for specific replacement intervals, especially if used in dusty conditions.
Is it really necessary to oil a foam air filter after cleaning?
Some foam filters require re-oiling to maintain their effectiveness in trapping fine dust particles. This oil creates a sticky surface that enhances filtration. Always check your generator’s owner’s manual to see if oiling is recommended for your specific filter type.
Can a dirty air filter affect my generator’s fuel efficiency?
Yes, a dirty air filter can significantly impact fuel efficiency. When an engine struggles for air, it often compensates by burning more fuel. This means your generator will consume more gasoline to produce the same amount of power, costing you more in the long run.
