
How to Fix Generator Pull Cord Not Retracting?
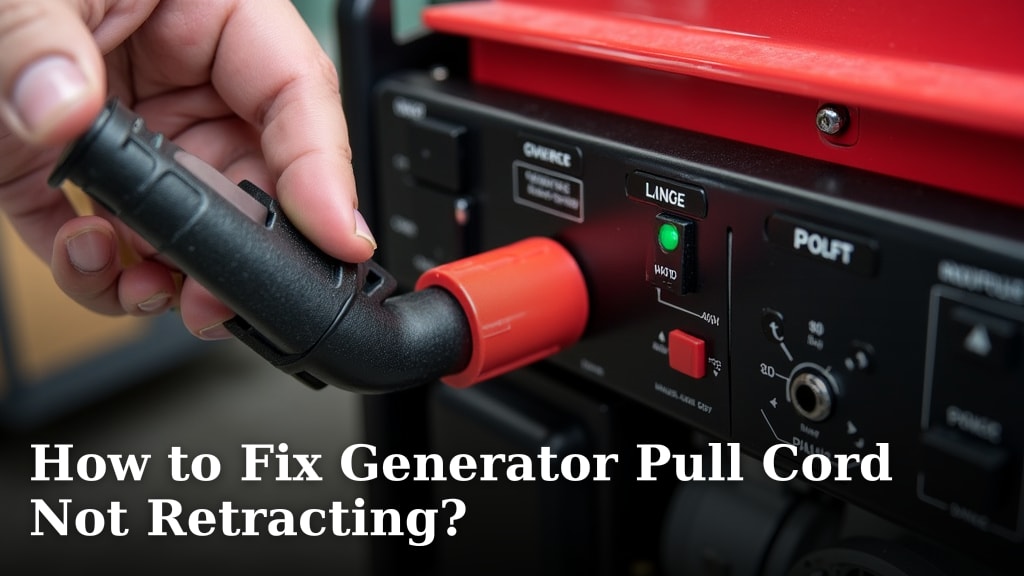
If your generator’s pull cord isn’t retracting, you’re likely dealing with a stuck recoil spring or a damaged cord. The good news is, you can often fix a generator pull cord that won’t retract with a few simple steps. Most issues stem from dirt, debris, or wear on the recoil mechanism.
A retractable pull cord is essential for getting your generator started quickly. When it fails, it can be frustrating, especially if you need power in a hurry. We found that common culprits include a gummed-up spring, a misaligned pulley, or a broken inner cord. Fixing it yourself can save you time and money.
- Check for obvious obstructions first.
- Clean the recoil housing thoroughly.
- Inspect the pull cord for damage.
- Test the spring’s tension.
- Reassemble carefully.
Let’s walk through exactly how to diagnose and fix that stubborn generator pull cord together, step by step.
Troubleshooting Your Generator’s Retracting Pull Cord
A generator pull cord that doesn’t snap back can be quite a nuisance. You want to start your generator, and the cord just stays out, or retracts very slowly. This is a common problem many generator owners face. We found that the most frequent causes are simple to fix yourself. Understanding the basics of a recoil start generator can help you better diagnose issues like a stuck pull cord.
The good news is that you don’t always need a professional to fix this. Often, a few basic checks and cleaning steps can get your pull cord working like new again. Let’s dive into how you can get that recoil mechanism back in action.
Assessing the Situation: What’s Actually Wrong?
Before you start disassembling anything, it’s wise to do a quick visual inspection. Think of it like checking your car before a long trip. You look for the obvious things first.
Step 1: Check for External Blockages
Is there anything physically stopping the cord from retracting? Sometimes, dirt, leaves, or even a small twig can get lodged in the mechanism. Gently try to wiggle the pull cord. Does it feel completely stuck, or just sluggish? If it feels like something is physically jamming it from the outside, that’s your first clue.
We found that sometimes a piece of debris can get caught right where the cord exits the housing. A quick look around that opening might reveal the culprit. If you see something, carefully remove it. A small pair of pliers or tweezers can be very handy here.
Step 2: Inspect the Pull Cord Itself
Take a good look at the cord. Is it frayed, worn, or perhaps kinked? A damaged cord can snag inside the housing. If the cord looks like it’s seen better days, it might be the reason it’s not retracting smoothly. You might even see a spot where the outer sheath is torn, exposing the inner fibers.
We’ve seen situations where a frayed cord simply can’t slide freely through the pulley system. If the cord is visibly damaged, it’s a strong indicator that replacement might be necessary. Trying to force a damaged cord can sometimes make the problem worse.
Getting Into the Recoil Mechanism: Cleaning and Lubrication
If there are no obvious external issues, the problem likely lies within the recoil starter assembly. This is the part that houses the spring and pulley system. Many experts say that dirt and old grease are the most common internal culprits (Small Engine Repair Manual).
Step 3: Accessing the Recoil Assembly
You’ll likely need to remove the recoil starter cover to get to the mechanism. This usually involves unscrewing a few bolts or nuts. Your generator’s owner’s manual is your best friend here. It will show you exactly how to remove the cover without damaging anything.
Lay out the screws and any parts you remove in an organized way. A magnetic tray or even just a piece of cardboard with the screw locations drawn can save you a lot of headaches later. We recommend taking pictures as you go, especially if it’s your first time.
Step 4: Cleaning Out Debris and Grime
Once the cover is off, you’ll see the pulley and the spring housing. This is where dirt, dust, and old oil often accumulate. You’ll want to clean this area thoroughly. Compressed air is excellent for blowing out loose dust.
For more stubborn grime, a clean rag dampened with a degreaser or a bit of mineral spirits can work wonders. Make sure to get into all the nooks and crannies. You’re essentially trying to remove anything that could be hindering the movement of the pulley or the spring. We found that using a small brush, like an old toothbrush, can help dislodge hardened gunk.
Step 5: Inspecting the Spring and Pulley
With the area clean, take a closer look at the spring. Is it broken, or does it look rusted? A broken spring won’t have the tension needed to retract the cord. If it’s just dirty or a bit stiff, cleaning might be enough.
Next, check the pulley. Is it damaged or bent? Does it spin freely? Sometimes, the pulley can get misaligned. Ensure the cord is seated correctly in the groove of the pulley. We found that a pulley that doesn’t spin smoothly is a prime suspect for a non-retracting cord.
Step 6: Lubrication – The Secret Sauce
After cleaning, a little lubrication can go a long way. Use a light, all-purpose lubricant or a silicone-based spray. Apply it sparingly to the pulley mechanism and any moving parts. You don’t want to oversaturate it, as too much oil can attract more dirt.
We found that a little bit of lubricant applied to the spring and pulley pivot points can help restore smooth operation. Many small engine repair guides suggest using a light grease on the spring itself for better longevity (National Ag Safety Center). Just a thin layer is usually sufficient.
Putting It All Back Together and Testing
Reassembly is the reverse of disassembly. Take your time and make sure everything goes back exactly as it came apart.
Step 7: Reassembling the Recoil Starter
Carefully place the cover back onto the recoil assembly. Ensure that the cord is properly routed through its guides and seated on the pulley. Reinstall the screws or bolts, tightening them snugly but not overtightening, which could strip the threads.
We recommend gently pulling the cord a few times before fully securing the cover. Does it feel like it’s retracting better? This initial test can save you from having to take it all apart again if something isn’t seated correctly. If it feels smooth, go ahead and finish tightening everything.
Step 8: Final Test Run
Now for the moment of truth! Give the pull cord a firm, steady pull. Does it snap back with authority? Try pulling it out a few times to ensure it retracts consistently. If it’s working smoothly, congratulations, you’ve likely fixed the issue!
If it’s still not retracting properly, don’t despair. You might have a broken spring, which requires replacement. In this case, it might be time to consult your manual for spring replacement instructions or seek professional help.
When to Call in the Pros
While many pull cord issues are DIY-friendly, there are times when it’s best to get expert advice. If you’ve gone through these steps and the cord still isn’t retracting, or if you’ve discovered a broken part, it might be time to involve a professional. Trying to force a broken component can lead to more extensive damage.
We found that certain internal spring failures can be tricky to repair without specialized tools. Forcing the issue could also damage the generator’s engine housing. If you’re uncomfortable with any part of the process, or if the generator is still under warranty, a qualified technician is your best bet.
| Step | Action | Status |
|---|---|---|
| 1 | Checked for external blockages? | [ ] Done |
| 2 | Inspected cord for damage? | [ ] Done |
| 3 | Cleaned recoil assembly thoroughly? | [ ] Done |
| 4 | Lubricated moving parts? | [ ] Done |
| 5 | Reassembled carefully? | [ ] Done |
| 6 | Tested for smooth retraction? | [ ] Done |
Conclusion
You’ve learned how a stuck pull cord on your generator is usually a fixable problem. By systematically checking for blockages, cleaning the recoil assembly, and ensuring parts move freely, you can often restore its function. Remember, patience during reassembly is key.
If your cord still isn’t retracting after these steps, it might indicate a broken spring. In that case, don’t hesitate to consult your generator’s manual for specific replacement instructions or reach out to a qualified service technician. Getting that cord to snap back smoothly will have your generator ready when you need it most.
Frequently Asked Questions
How tight should the generator pull cord be?
The pull cord should have enough tension to retract firmly and quickly. It shouldn’t feel loose or sluggish. When you pull it, it should feel taut, and when released, it should snap back without hesitation. Too much tension can be caused by a severely over-wound spring, which is also an issue.
Can I use WD-40 to fix a sticky pull cord?
While WD-40 can help loosen dirt and grime initially, it’s not always the best long-term lubricant for a recoil spring. A light, silicone-based spray or a specific small engine lubricant is generally recommended. You want a lubricant that won’t attract excess dust over time.
Is it safe to replace the recoil spring myself?
Replacing a recoil spring can be done by some DIYers, but it requires care. Springs are under tension and can cause injury if handled improperly. Always consult your generator’s manual and ensure you have the correct replacement part before attempting this repair.
My generator cord retracts slowly, but it does retract. Is that okay?
A slow retraction indicates that the recoil mechanism isn’t functioning at its best. While it might still work, it’s a sign that cleaning and lubrication are needed. Continued slow retraction could lead to the cord eventually failing to retract altogether or snagging.
What should I do if the pull cord broke while I was using it?
If the pull cord broke mid-use, it usually means the cord itself has snapped or a critical part of the recoil mechanism failed. You’ll likely need to replace the pull cord and potentially inspect the spring and pulley for damage before reassembly. This is a good time to consider professional help if you’re unsure.
