
How to Change Oil in a Dual Fuel Generator?
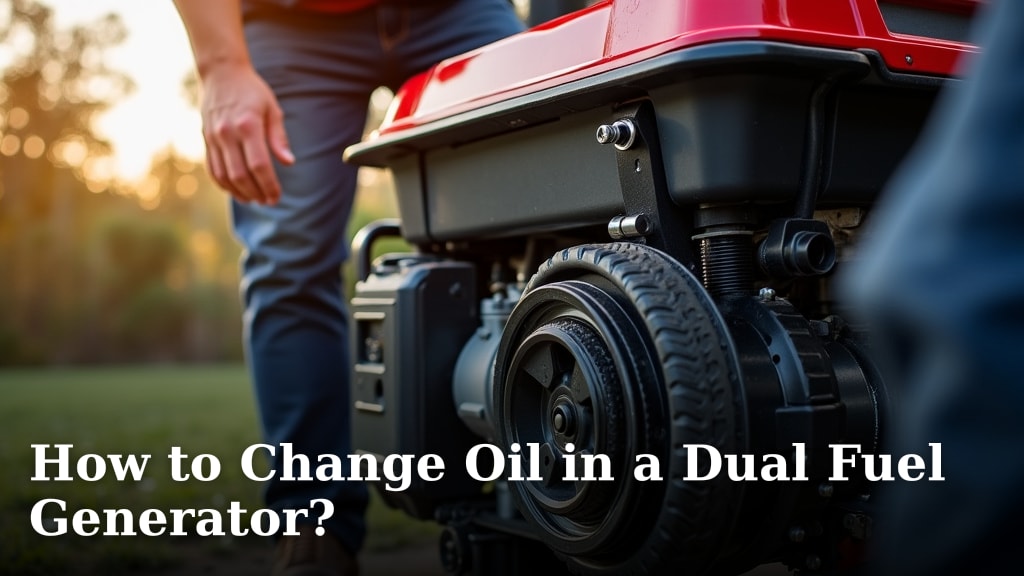
To change oil in a dual fuel generator, you will first need to gather your supplies like new oil and a wrench. Then, drain the old oil completely from the engine. Finally, refill with the correct type and amount of new oil, checking the dipstick as you go.
Routine oil changes are key for keeping your generator running smoothly. We found that fresh oil protects your engine parts from wear and tear. It helps your generator last longer, especially when you need it most during a power outage or camping trip. Skipping this maintenance can lead to costly repairs down the line, so don’t put it off!
TL;DR
- Gather tools: new oil, wrench, drain pan.
- Warm up the engine for a few minutes.
- Drain the old, dirty oil.
- Refill with the manufacturer-recommended new oil.
- Check the oil level with the dipstick.
Ready to get your hands a little dirty? Let’s walk through the exact steps to change the oil in your dual fuel generator, ensuring it’s always ready for action.
Performing an Oil Change on Your Dual Fuel Generator
Changing the oil in your dual fuel generator is a simple but important task. We found that regular oil changes keep your engine happy and extend its life. Think of it like a fresh start for your generator’s hardworking components.
Understanding Why Oil Changes Matter
You might wonder, “Why is changing the oil so critical?” Old oil breaks down. It loses its ability to lubricate and cool your engine parts effectively. This means more friction, more heat, and more wear and tear.
We found that fresh oil acts like a shield. It protects moving parts from grinding against each other. It also helps dissipate heat and carries away harmful contaminants. This keeps your generator running smoothly, especially during critical moments like power outages (U.S. Department of Energy).
The Role of Oil in Your Engine
Your generator’s engine has many metal parts moving at high speeds. Without proper lubrication, these parts would quickly wear out. Oil provides that vital cushion.
It also helps seal the combustion chamber, preventing power loss. And as it circulates, the oil picks up tiny metal particles and other debris. That’s why it gets dirty over time. We found that clean oil is essential for peak performance.
Gathering Your Essential Supplies
Before you start, make sure you have everything you need. This will make the process much smoother. Nobody wants to stop mid-job to run to the store, right?
What You’ll Need: A Checklist
- New engine oil (check your generator’s manual for the correct type and amount).
- An oil drain pan or bucket.
- A wrench (likely a socket wrench) to remove the drain plug.
- A funnel for pouring new oil.
- Clean rags or paper towels for spills.
- Gloves to keep your hands clean.
- Optional: an oil filter (if your model has one and it’s due for replacement).
Choosing the Right Oil for Your Generator
This is probably the most important choice you’ll make. Not all oils are created equal. Your generator’s manual will specify the exact oil type and viscosity. This is often something like 10W-30 or SAE 30.
Using the wrong oil can damage your engine. We found that synthetic oils can offer better performance in extreme temperatures, but always defer to your manufacturer’s recommendation. The wrong oil can lead to overheating or excessive wear (American Petroleum Institute).
The Step-by-Step Oil Change Process
Ready to jump in? Let’s break down the process into easy-to-follow steps. You’ll be amazed at how straightforward it is.
Step 1: Warm Up the Generator (Briefly!)
This step is often overlooked but important. We found that running your generator for just 5-10 minutes helps warm the oil. Warm oil flows more easily. This ensures a more complete drain, getting out more of that old, dirty stuff.
However, be careful not to run it too long. The engine will be hot! Use caution when touching any parts of the generator.
Step 2: Prepare for Draining the Old Oil
First, turn off your generator completely. Disconnect the spark plug wire for added safety. This prevents any accidental starts while you’re working. Safety first, always!
Next, locate the oil drain plug. It’s usually a bolt on the lower side of the engine. Place your drain pan directly underneath it. Make sure the pan is large enough to hold all the old oil without overflowing.
Step 3: Draining the Old Oil
Using your wrench, carefully loosen and remove the drain plug. The oil will start to flow out, so be ready. Let it drain completely. This might take several minutes.
While it’s draining, you can also remove the oil fill cap. This allows air to enter, helping the oil drain faster and more completely. It’s like venting a can of juice to get all the liquid out.
Once the flow slows to a trickle, reinstall the drain plug and tighten it securely. Don’t overtighten it – you don’t want to strip the threads!
Step 4: Replacing the Oil Filter (If Applicable)
Does your generator have an oil filter? Many smaller dual fuel models do not, but larger ones might. If yours does, now is the time to remove the old filter and install a new one.
Always apply a light coat of fresh oil to the rubber gasket of the new filter before screwing it on. This helps create a good seal. Tighten it by hand until snug, then give it an additional quarter turn with a filter wrench if recommended by the manufacturer.
Step 5: Refilling with New Oil
This is where your funnel comes in handy! Place the funnel into the oil fill opening. Slowly pour in the new, clean oil. Refer to your generator’s manual for the exact capacity. It’s usually a small amount, often less than a quart.
A little patience here goes a long way. Pouring too fast can lead to spills. Nobody wants a messy clean-up, right?
Step 6: Checking the Oil Level and Final Steps
After pouring in most of the recommended amount, remove the funnel. Insert the dipstick, but don’t screw it in. Just rest it in the opening. Pull it out and check the oil level. It should be between the “full” and “add” marks.
Add small amounts of oil as needed until the level is correct. Repeat the dipstick check until it’s perfect. Once satisfied, screw the oil fill cap back on tightly. Reconnect the spark plug wire.
Finally, start your generator and let it run for a few minutes. Check for any leaks around the drain plug or oil filter. If all looks good, you’re done! You’ve successfully changed the oil and given your generator a new lease on life.
| Action | Why It’s Important | Pro Tip |
|---|---|---|
| Warm up engine | Helps oil drain more completely. | Run for just 5-10 minutes, no longer. |
| Use correct oil type | Critical for engine longevity and performance. | Always check your generator’s manual first! |
| Allow full drain | Removes maximum contaminants. | Remove fill cap to aid air flow. |
| Don’t overtighten | Prevents damage to drain plug threads. | Snug is good, gorilla grip is not. |
| Check dipstick often | Ensures accurate oil level. | Add small amounts of oil gradually. |
Conclusion
You’ve seen how simple yet effective routine oil changes are for your dual fuel generator. By following these steps, you’re not just swapping old oil for new. You’re actively safeguarding your investment. You’re ensuring it’s ready to power your home or campsite when you need it most. We found that this small maintenance task offers big peace of mind. So, grab your supplies and give your generator the care it deserves.
Frequently Asked Questions
How often should I change the oil in my dual fuel generator?
You should generally change your generator’s oil every 50-100 hours of use, or at least once a year. Always check your owner’s manual for the manufacturer’s specific recommendations. This can vary based on the model and how you use your generator.
Can I use car oil in my dual fuel generator?
It’s best to use oil specifically designed for small engines or the exact type recommended in your generator’s manual. Car oils often have different additive packages. These might not be optimized for the higher heat and continuous load conditions of a generator engine.
What should I do with the old generator oil?
Never pour old oil down the drain or into the ground. It’s an environmental hazard. Collect it in a sealed container and take it to an authorized recycling center. Most auto parts stores or municipal waste facilities accept used motor oil for recycling.
What if my generator doesn’t have an oil filter?
Many smaller dual fuel generators are designed without an oil filter. If your manual doesn’t mention one, you simply skip that step in the oil change process. The oil itself still performs vital cleaning functions, which is why regular changes are so important.
Can I run my dual fuel generator on propane during the oil change process?
Yes, you can run your generator on either propane or gasoline to warm up the oil before draining. The fuel type doesn’t affect the warming process. Just be sure to perform the oil change in a well-ventilated area and with the engine completely shut off and cooled down for safety before you begin work.
