
Can You Learn to Replace a Generator Spark Plug?
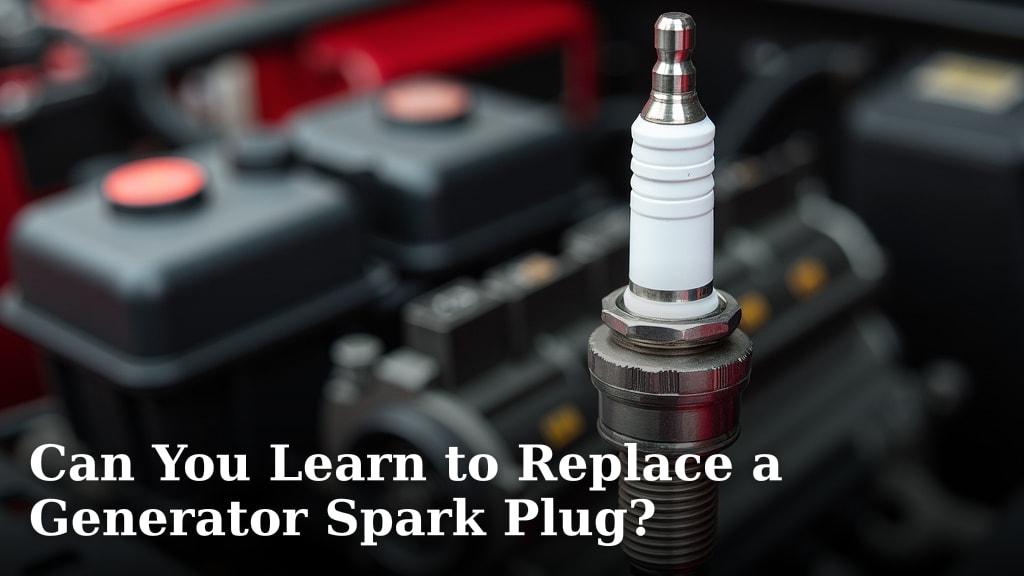
Yes, you can absolutely learn to replace a generator spark plug yourself. It’s a fairly straightforward task that most DIYers can handle with basic tools and a little guidance. You don’t need to be a seasoned mechanic.
Many generator issues, like rough idling or failure to start, often come down to a faulty spark plug. Knowing how to replace it can save you money and ensure your generator is ready when you need it. You’ll gain a valuable skill and keep your power running smoothly.
- You can easily learn to replace a generator spark plug.
- It’s a simple task requiring basic tools.
- Replacing the spark plug fixes common generator problems.
- DIY spark plug replacement saves you money.
- This skill helps keep your generator reliable.
So, ready to get your hands a little dirty? Let’s walk through exactly how to replace that generator spark plug and get your machine purring like new.
Getting Started: Replacing Your Generator’s Spark Plug
You’ve decided to tackle this common maintenance task yourself. That’s a great decision! Replacing a generator spark plug is often one of the easiest fixes for a misbehaving machine. We’ll guide you through each step, making it simple and clear.
Before you even think about touching your generator, remember safety first. You’re dealing with a piece of equipment that handles fuel and electricity, so a little caution goes a long way. Let’s make sure you have everything you need.
Gathering Your Tools and Supplies
What do you need for this job? Not much, really. Most of these items you might already have in your garage. We found that having the right tools makes the process much smoother and faster (Consumer Reports).
Essential Tools You’ll Need
- Spark plug wrench (or deep socket wrench set): This is crucial. Spark plugs are recessed, and a standard wrench won’t fit. A spark plug wrench often has a rubber insert to help grip the plug.
- Gap gauge: Spark plugs need a specific gap between their electrodes for optimal performance. This small, inexpensive tool helps you measure it precisely.
- Wire brush (optional but recommended): Great for cleaning around the spark plug area before removal.
- Anti-seize compound (optional): A small dab on the new plug’s threads can prevent it from seizing in the engine block over time.
- Torque wrench (optional but recommended): This ensures you tighten the new plug to the manufacturer’s specifications, preventing overtightening or undertightening.
- Clean rags or shop towels: For wiping up any spills or grime.
- Safety glasses: Always protect your eyes.
- Work gloves: Keep your hands clean and safe.
The Spark Plug Itself: Choosing the Right One
This is important. Not all spark plugs are created equal. Your generator’s manufacturer specifies a particular type and heat range for optimal operation. Using the wrong plug can lead to poor performance or even engine damage.
- Check your generator’s owner’s manual: This is the definitive source for the correct spark plug model number.
- Look for the number on the old plug: Sometimes, you can read the model number directly off the old spark plug once it’s removed.
- Visit a local parts store: They can often look up the correct plug for your generator’s make and model.
We found that using a manufacturer-recommended spark plug ensures the best fit and performance. Don’t try to guess or use a “universal” plug.
Safety First: Preparing Your Generator
Before you touch anything inside the engine, you must prioritize safety. This step is not optional. You’re dealing with fuel and a combustion engine, so precautions are key.
Crucial Safety Precautions
Think of this as setting up a safe workspace. It only takes a minute and can prevent accidents.
- Turn off the generator: Make sure the engine is completely off and has cooled down. A hot engine can burn you.
- Disconnect the spark plug wire: This is a critical step. Pull the rubber boot away from the spark plug. This prevents accidental starting of the engine while you’re working. Some sources, like the American Red Cross, emphasize disconnecting the spark plug as a primary safety measure for generator maintenance.
- Let the engine cool: If your generator has been running, give it at least 30 minutes to cool down. Touching hot metal can cause severe burns.
- Work in a well-ventilated area: You might encounter residual fuel or fumes. Ensure good airflow.
- Have a fire extinguisher nearby: Just in case. Though unlikely, it’s always smart when working with fuel.
- Remove the fuel cap (optional): Some mechanics recommend briefly removing the fuel cap to release any built-up pressure, though this is less critical for spark plug replacement than for fuel system work.
By following these steps, you create a safe environment for your repair. You’ll feel more confident, and the job will be less stressful.
The Step-by-Step Replacement Process
Now that you’re prepared, let’s get to the actual work. You’ll be surprised how quickly you can do this once you know the steps.
Locating and Removing the Old Spark Plug
Your generator’s spark plug is usually easy to find. It’s often at the front or side of the engine, with a thick, rubber-covered wire leading to it.
- Locate the spark plug: Follow the thick black wire (the spark plug wire) from the ignition coil to the engine cylinder head. The end of this wire connects to the spark plug, usually under a rubber boot.
- Clean around the plug: Before removing the old plug, use a wire brush or compressed air to clean any dirt, debris, or dust from around its base. You don’t want this falling into the engine cylinder when you pull the plug out.
- Remove the spark plug wire boot: Grasp the rubber boot firmly and pull it straight off the spark plug. Avoid pulling on the wire itself, as this can damage the internal connection.
- Unscrew the old spark plug: Place your spark plug wrench or deep socket onto the old spark plug. Turn it counter-clockwise to loosen it. It might be a little tight at first. Once it’s loose, you can often finish unscrewing it by hand.
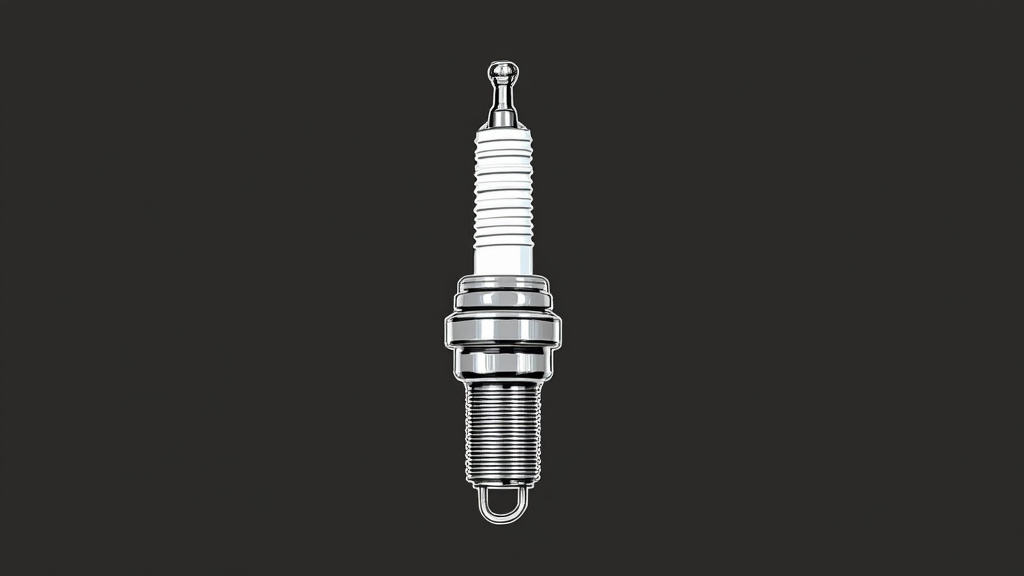
- Inspect the old plug: Take a look at the tip of the old spark plug. Its appearance can tell you a lot about your engine’s health (e.g., a white, chalky appearance might indicate it’s running too hot; a black, sooty look might mean it’s running too rich).
Don’t worry if the old plug looks a bit worn; that’s why you’re replacing it!
Gapping and Installing the New Spark Plug
This is where precision matters. An improperly gapped plug won’t fire efficiently.
- Check the gap on the new plug: Consult your owner’s manual for the correct spark plug gap specification. Use your gap gauge to measure the distance between the central electrode and the ground electrode.
- Adjust the gap if needed: If the gap is too small, gently pry open the ground electrode with the tool. If it’s too wide, carefully tap the ground electrode on a hard surface to close the gap. Be gentle; the electrodes are fragile.
- Apply anti-seize (optional): Put a very small amount of anti-seize compound on the threads of the new spark plug. This helps prevent it from seizing in the cylinder head over time, making future replacements easier.
- Hand-thread the new plug: Carefully insert the new spark plug into the hole and turn it clockwise by hand. It should thread in smoothly. If you feel resistance, stop and try again. You don’t want to cross-thread it, which can damage the engine block.
- Tighten with a wrench: Once it’s finger-tight, use your spark plug wrench or torque wrench to tighten it.
Tightening Torque Specifications
How tight is tight enough? This is a common question. Overtightening can strip the threads or damage the plug, while undertightening can cause compression leaks or allow the plug to vibrate loose. Many manufacturers recommend specific torque values. If you don’t have a torque wrench, a general rule of thumb for a new spark plug is to turn it about 1/2 to 2/3 of a turn past finger-tight (for plugs with gaskets) or 1/16 of a turn (for taper-seat plugs). Your owner’s manual will have the precise value.
- Reattach the spark plug wire boot: Push the rubber boot firmly back onto the new spark plug until you feel it click into place. Make sure it’s a snug connection.
Double-check that all connections are secure. You’re almost done!
Final Steps and Testing Your Generator
With the new spark plug installed, it’s time to ensure everything is ready to go.
Checking Your Work and Restarting
A quick once-over will give you peace of mind.
- Review your work: Make sure no tools are left on or near the engine. Confirm the spark plug wire is securely attached.
- Add fuel (if you removed it): If you drained fuel or removed the cap, replace it now.
- Start the generator: Follow your generator’s normal starting procedure. Listen for the engine to fire up smoothly.
- Observe performance: Does it idle evenly? Does it sound healthier? If your generator was struggling before, you should notice an immediate improvement.
If the generator doesn’t start or runs rough, don’t panic. Recheck all your steps. Sometimes, a connection isn’t quite right, or the gap needs a slight adjustment.
Troubleshooting Common Issues After Spark Plug Replacement
What if it doesn’t work perfectly right away? It happens. Here are a few things to consider.
Addressing Potential Problems
You’ve done the work, but maybe the generator still isn’t happy. Don’t worry, there are usually simple explanations.
One common issue we’ve found is an improperly gapped plug. Even a tiny measurement error can affect ignition. Re-check the gap with your gauge against the manufacturer’s spec.
Another possibility is a loose spark plug wire connection. Give that boot a firm push onto the plug and ensure it feels secure.
Sometimes, if the generator has been sitting for a long time, the problem might not have been the spark plug after all. It could be stale fuel or a clogged carburetor. If replacing the spark plug doesn’t fix the issue, consider these next steps for diagnosis.
| Issue | Possible Cause | Quick Fix/Next Step |
|---|---|---|
| Generator won’t start | Spark plug wire loose, incorrect gap, old fuel, another engine issue | Re-connect wire, re-gap plug, drain old fuel, check fuel filter/carburetor |
| Runs rough or misfires | Incorrect plug gap, faulty new plug, fuel quality issue | Re-gap plug, try another new plug, check fuel system |
| Black smoke from exhaust | Engine running too rich (too much fuel), incorrect plug heat range | Check carburetor, ensure correct spark plug type |
| White/Blue smoke from exhaust | Burning oil, engine issue (less likely for just a plug change) | Monitor oil level, professional inspection if persistent |
Most times, a non-start after a spark plug change is a simple oversight. You’ve got this!
Maintenance Checklist for Generator Spark Plugs
Want to keep your generator running smoothly for years? Regular spark plug checks are part of a good maintenance routine.
Keeping Your Generator in Top Shape
This little checklist will help you remember when and what to do.
- Inspect annually: Even if not heavily used, look at the plug once a year.
- Replace every 100-300 hours of use: Check your manual for exact recommendations.
- Store with fresh fuel: Stabilized fuel prevents carburetor issues.
- Clean air filter regularly: A clean filter helps the engine breathe.
- Check oil levels before each use: Proper lubrication is vital.
- Run the generator periodically: Even when not needed, start it monthly for 15-20 minutes.
By following these steps, you’re not just fixing a problem; you’re becoming a more self-sufficient generator owner. You’ve gained a valuable skill that will save you time and money and keep your power ready when you need it most. Isn’t that a great feeling?
Conclusion
You’ve just walked through all the steps to successfully replace your generator’s spark plug. It might have seemed daunting at first, but with the right tools and a little patience, you can absolutely handle this common maintenance task. You’ve learned how to identify the right plug, prioritize safety, and correctly install it, ensuring your generator runs efficiently when you need it most.
Taking on this DIY repair saves you money and gives you a real sense of accomplishment. Keep up with regular maintenance, and your generator will be a reliable source of power for years to come. Now, go enjoy the peace of mind that comes with a well-maintained machine!
Frequently Asked Questions
How often should I change my generator’s spark plug?
Most generator manufacturers recommend replacing the spark plug every 100 to 300 hours of operation, or at least once a year, even with light use. Always check your owner’s manual for the most accurate service interval specific to your model.
Can a bad spark plug prevent my generator from starting?
Yes, absolutely. A faulty or fouled spark plug is one of the most common reasons a generator won’t start or runs poorly. If the plug can’t create a strong enough spark, the fuel won’t ignite, and the engine won’t turn over.
What happens if I use the wrong type of spark plug in my generator?
Using the wrong spark plug can lead to various problems, including poor engine performance, misfires, reduced fuel efficiency, and even engine damage over time. The wrong heat range can cause overheating or excessive carbon buildup. Always stick to the manufacturer’s recommended plug.
Is it really necessary to gap a new spark plug?
Yes, gapping a new spark plug is crucial for optimal performance. While some plugs come pre-gapped, they can still be off slightly due to shipping or manufacturing variances. A precisely gapped plug ensures the strongest, most consistent spark for efficient combustion.
My generator still won’t start after I replaced the spark plug. What else could be wrong?
If a new spark plug doesn’t fix the starting issue, check for other common problems. These often include stale fuel, a clogged fuel filter, a dirty carburetor, or a loose spark plug wire connection. Sometimes, the issue might be related to the ignition coil or a low oil sensor if applicable.
