
How to Charge a Generator Starting Battery?
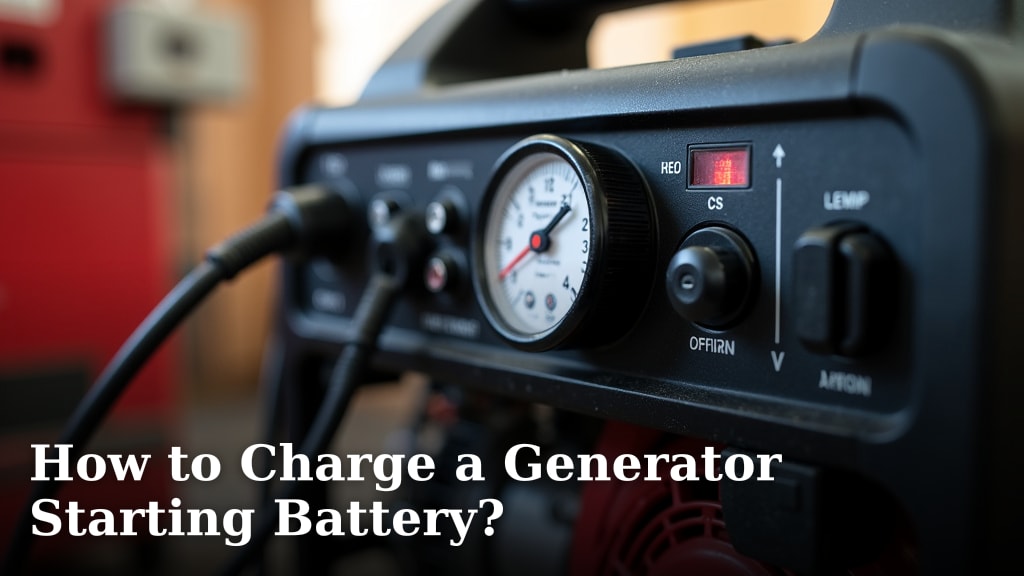
The easiest way to charge a generator starting battery is by using a trickle charger or a smart charger designed for lead-acid batteries. These devices provide a slow, steady charge that safely recharges your battery without overcharging. Always remember to prioritize safety first when handling batteries.
You might be wondering if your generator’s battery is different from a car battery. While similar, they often require specific charging methods to ensure longevity and optimal performance. We found that understanding your battery type is key to selecting the right charging tool.
- A trickle or smart charger is your best bet.
- Prioritize safety by wearing gloves and eye protection.
- Connect positive to positive, negative to negative.
- Charge in a well-ventilated area.
Let’s walk through exactly how to safely and effectively charge your generator starting battery, ensuring it’s always ready when you need it most.
Getting Your Generator’s Battery Charged
You want your generator ready when the lights go out. That means keeping its starting battery in top shape. Charging it correctly is key to its lifespan and reliability. Let’s make sure you know exactly how to do it.
Understanding Your Generator Battery Type
Before you charge, it’s good to know what kind of battery you have. Most generators use lead-acid batteries, much like your car. But there are differences. Some are maintenance-free, others need occasional water checks. We found that identifying your battery type simplifies the charging process.
Common Generator Battery Types
The most common types you’ll encounter are flooded (wet cell), sealed lead-acid (SLA), and AGM (Absorbent Glass Mat). Each has slightly different care needs. Flooded batteries often have removable caps for adding distilled water. SLA and AGM batteries are sealed and require no water additions (Battery Council International).
Check your generator’s manual for specific battery details. It’s your best source of information. You’ll find out if it’s 12V or 6V, and its amp-hour (Ah) rating. This information helps you pick the right charger.
Gathering Your Charging Tools
To safely charge your generator battery, you’ll need a few things. You might already have some of them. Think of it like preparing for a small home repair project. Having the right tools makes all the difference.
- Battery Charger: A trickle charger or smart charger is ideal.
- Safety Gear: Rubber gloves and eye protection are non-negotiable.
- Wire Brush: For cleaning battery terminals.
- Baking Soda and Water: To neutralize corrosion.
- Distilled Water: Only for flooded lead-acid batteries, if needed.
- Voltmeter: To check the battery’s voltage before and after charging.
We found that a good quality smart charger is worth the investment. It protects against overcharging and has different modes for various battery types.
Safety First: Your Charging Checklist
When dealing with batteries, safety isn’t just a suggestion; it’s a rule. Batteries contain corrosive acid and can produce flammable gases. So, always be careful. Imagine you’re working with something precious and a little feisty.
Before you even touch the battery, make sure you:
- Wear safety glasses and rubber gloves.
- Work in a well-ventilated area.
- Ensure no open flames or sparks are nearby.
- Turn off your generator completely.
- Do not smoke while working on the battery.
These steps protect you from acid splashes, electrical shocks, and potential explosions. Your well-being is the top priority here (Occupational Safety and Health Administration).
Preparing Your Battery for Charging
A little prep work goes a long way. It ensures a good connection and an efficient charge. Think of it like cleaning your eyeglasses before you read. You want a clear view.
Disconnecting the Battery
First, you need to disconnect the battery from the generator. Always disconnect the negative (-) terminal first, then the positive (+). This prevents accidental short circuits. It’s a simple rule, but an important one.
Once disconnected, you can usually lift the battery out. Place it on a stable, non-metallic surface. A workbench or even a wooden pallet works well.
Cleaning Battery Terminals
Look at the battery terminals. Do you see any white or bluish-green crust? That’s corrosion. It needs to go. Corrosion can prevent a good electrical connection, making charging difficult or impossible.
Use a wire brush to gently scrub away the corrosion. Mix a paste of baking soda and water to help neutralize any acid. Apply it, let it bubble, then rinse with clean water. Dry the terminals thoroughly before proceeding. A clean connection means a happy battery.
Checking Fluid Levels (for Flooded Batteries Only)
If you have a flooded (wet cell) battery, now is the time to check the electrolyte levels. Carefully remove the cell caps. You should see the fluid covering the plates inside. If not, add distilled water until the plates are covered, but don’t overfill.
Do NOT use tap water. It contains minerals that can harm the battery. If your battery is sealed (SLA or AGM), skip this step. They don’t need water. You can just put the caps back on, or move to the next step if yours are sealed.
Connecting the Charger Correctly
This is where your charger comes in. Connecting it properly is critical. It’s like plugging in your phone charger; you want it to work right the first time.
- Attach the red (+) clamp from the charger to the positive (+) terminal on the battery.
- Attach the black (-) clamp from the charger to the negative (-) terminal on the battery.
- Double-check your connections. Make sure they are secure and not touching anything else.
Only after these connections are made should you plug the charger into a wall outlet. This sequence is important for your safety. We found that reversing the order can cause sparks or damage.
Charging Your Generator Battery
Now, let the charger do its work. Smart chargers often have different modes. Select the appropriate one for your battery type and voltage (e.g., 12V, lead-acid). Some even have a “recondition” mode for deeply discharged batteries.
| Charger Type | Key Benefit | Charging Time |
|---|---|---|
| Trickle Charger | Slow, steady charge; prevents overcharging. | Long (24-48+ hours) |
| Smart Charger | Monitors charge, multi-stage, automatic shut-off. | Medium (8-24 hours, depends on discharge) |
| Standard Car Charger | Faster, but risks overcharging without monitoring. | Short (2-8 hours, requires monitoring) |
A smart charger will usually indicate when the battery is fully charged. This might be a green light or a specific message on a display. Trickle chargers can be left connected for extended periods, maintaining the charge without harm. Many experts recommend trickle or smart chargers for long-term battery health.
If you’re using a basic car charger, monitor the battery’s voltage with your voltmeter. Stop charging once it reaches around 12.6-12.8 volts for a 12V battery. Overcharging can severely damage a battery and shorten its life.
Post-Charging Steps and Reconnection
Once charging is complete, you’re almost done. Just a few more steps to get your generator ready.
- Unplug the charger from the wall outlet first.
- Remove the black (-) clamp from the battery.
- Remove the red (+) clamp from the battery.
Wipe down the battery and terminals one last time. If you removed the battery, carefully place it back into its compartment in the generator. Now, reconnect the battery cables to the generator. This time, connect the positive (+) cable first, then the negative (-) cable. This is the reverse of disconnection. Secure all connections tightly.
Maintaining Your Generator Battery
You’ve charged it, now keep it healthy! A charged battery is a happy battery. Think of it like giving your pet its favorite food. Consistent care goes a long way.
We found that regular maintenance prevents many battery issues. Here’s a quick checklist:
- Check voltage monthly: Use a voltmeter. A fully charged 12V battery should read around 12.6V or higher.
- Clean terminals annually: Or whenever you see corrosion building up.
- Top off fluid (if flooded): Check every 3-6 months.
- Keep it charged: Use a trickle charger if the generator sits idle for long periods.
- Store properly: If removing the battery for winter, store it in a cool, dry place, fully charged.
Following these tips ensures your generator’s starting battery is always ready to go. You’ll thank yourself during the next power outage. It’s about preparedness, after all.
Conclusion
Keeping your generator’s starting battery charged correctly is a simple yet vital task. You’ve learned how to identify your battery, gather the right tools, and prioritize safety throughout the process. By following our step-by-step guide—from cleaning terminals to connecting your smart charger—you’ll ensure your battery performs reliably.
Remember, a little maintenance goes a long way. Regularly check voltage and clean terminals to extend battery life. Now, take these steps to make sure your generator is always prepared, giving you peace of mind during any power outage.
Frequently Asked Questions
Can I use a car battery charger for my generator battery?
You can use a car battery charger, but we recommend using a smart charger or trickle charger instead. Car chargers can deliver a high current and may overcharge your generator battery if not carefully monitored, potentially shortening its lifespan.
How often should I charge my generator’s starting battery?
It depends on how often you use your generator. If it sits idle for long periods, we suggest connecting it to a trickle charger. For generators used infrequently, check the battery voltage monthly and charge it if it drops below 12.5 volts.
What voltage should a fully charged 12V generator battery read?
A fully charged 12-volt generator battery should read approximately 12.6 to 12.8 volts or higher. Anything below 12.4 volts indicates it needs charging to maintain optimal performance and battery health.
Is it okay to leave a trickle charger connected to my generator battery all the time?
Yes, it is generally safe to leave a modern trickle charger or battery maintainer connected long-term. These chargers are designed to monitor the battery and provide only the necessary charge to keep it topped off without overcharging.
What should I do if my generator battery won’t hold a charge?
If your battery won’t hold a charge even after proper charging, it might be at the end of its life. First, check for corrosion or loose connections. If those aren’t the issue, you likely need to replace the battery. We found that most generator batteries last 3-5 years.
